

Or maybe I should say the correct length.
Awhile back, on as they would say on TV in the old days, "another network", people were discussing there Big Bertha rockets. I made mention of the fact that in my recent cloning of the venerable rocket design, I had inadvertently used a body tube about 5 cm too short. I went on too ask for opinions on whether I should correct for this deficiency. One of the people who responded said that I should cut off four inches and add a 6" piece placing a SemRoc baffle in the tube before gluing back together. Than, he said, I could enjoy recovery wadding free flights for the rest of the Bertha's flights.
And so....
Taking the Big Bertha to new lengths
#1 Taking the Big Bertha to new lengths
Commander
Starport Sagitta
NAR No.97971
Starport Sagitta
NAR No.97971
#2 Re: Taking the Big Bertha to new lengths
It took a short while for me to get the baffle ordered and then get my but in gear, but finally this weekend things came together to get this project underway.
I built the SemRoc EB-60 Baffle from Erockets.com after contacting Randy Boadway from Erockets about an issue (talk about fast, I emailed about 10:30pm, and had a response a little later that night).
I don't have pictures of the assembly of the baffle as I think the construction of these is a model rocketry top secret.
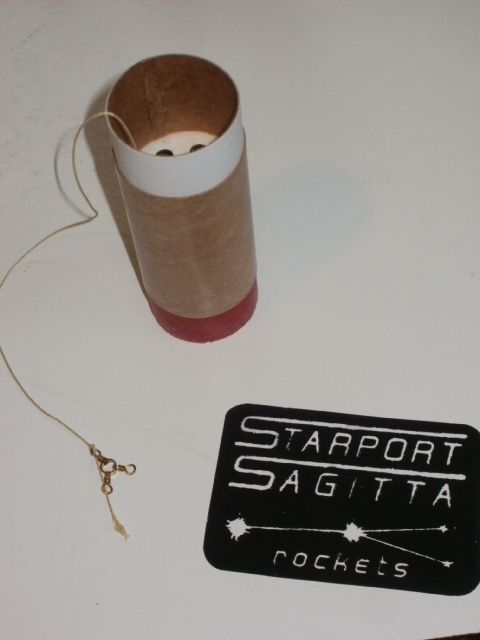
I took a section of BT-60, glued a coupler in halfway. next I slid the completed ejection baffle in. Then of course I couldn't find the second coupler I thought I had, so I cut off another piece of BT-60 and made a coupler with that. I glued the home made coupler in place and set it aside to dry.
Oh yes, one minor additional item, if you look closely in the picture, you can see that the Kevlar(c) line coming from the baffle has a three way swivel attached to it.I was originally planning on attaching the nose cone using the elastic section of shock cord, and then a parachute to the third eyelet. I started thinking however (always a dagerous proposition) and wondered if most zippers are caused by the sudden opening of the parachute, would it be better:
1) to attach the parachute to the eyelet with an elastic section in between and then more kevlar between the last eyelet and the nosecone.
2) use an elastic riser for the parachute and for the attachment of the nose cone.
3) stop over thinking things
I built the SemRoc EB-60 Baffle from Erockets.com after contacting Randy Boadway from Erockets about an issue (talk about fast, I emailed about 10:30pm, and had a response a little later that night).
I don't have pictures of the assembly of the baffle as I think the construction of these is a model rocketry top secret.
I took a section of BT-60, glued a coupler in halfway. next I slid the completed ejection baffle in. Then of course I couldn't find the second coupler I thought I had, so I cut off another piece of BT-60 and made a coupler with that. I glued the home made coupler in place and set it aside to dry.
Oh yes, one minor additional item, if you look closely in the picture, you can see that the Kevlar(c) line coming from the baffle has a three way swivel attached to it.I was originally planning on attaching the nose cone using the elastic section of shock cord, and then a parachute to the third eyelet. I started thinking however (always a dagerous proposition) and wondered if most zippers are caused by the sudden opening of the parachute, would it be better:
1) to attach the parachute to the eyelet with an elastic section in between and then more kevlar between the last eyelet and the nosecone.
2) use an elastic riser for the parachute and for the attachment of the nose cone.
3) stop over thinking things

Commander
Starport Sagitta
NAR No.97971
Starport Sagitta
NAR No.97971
#3 Re: Taking the Big Bertha to new lengths
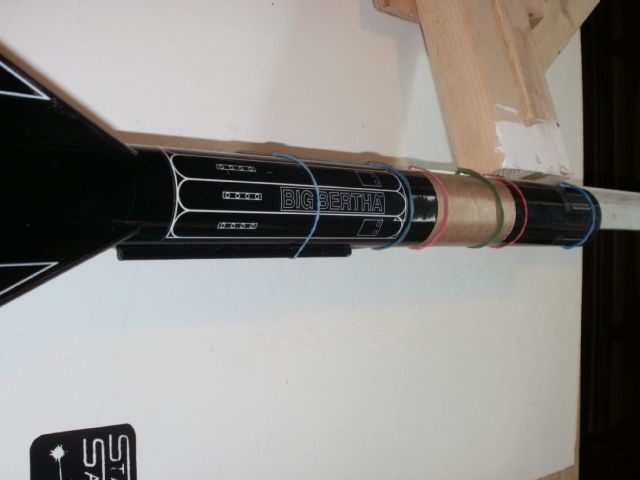
Originally, the idea was to cut enough body tube off to get the baffle in the correct position, then splice the new longer tube back into place. I decided I wanted the decals at the front end of the body tube. So instead of just cutting off a section, I constructed the baffle section and then cut the tube in half just above the inside forward retaining ring. I then used the length of the lower half and the baffle section to calculate how much of the top section I needed to cut off to achieve an overall body tube length of 45.7 cm. I then marked that amount (about 2.3 cm) on the upper tube section and cut off the piece.

Commander
Starport Sagitta
NAR No.97971
Starport Sagitta
NAR No.97971
#4 Re: Taking the Big Bertha to new lengths
After sanding the inside ends of the existing tube, I spread glue around the inside, fitted all three sections together, and rubber banded it to a piece of angle iron.
Checking the length while drying, I was about a mm short. I guess I can live with that.
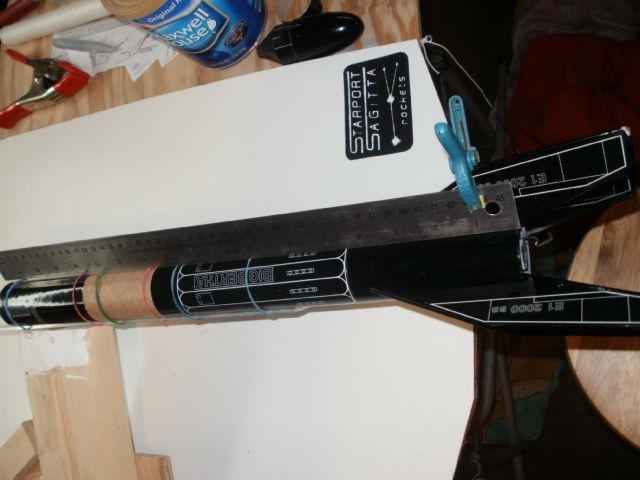

For those attentive viewers who noticed that the imperial units on the ruler were being used, Yes I cheated a bit. Knowing that the original dimensions were in inches, I used those units instead of metric to make sure there were no errors in the body tube length. I never said I wouldn't use them, I just said I wouldn't use them on the starport.
Commander
Starport Sagitta
NAR No.97971
Starport Sagitta
NAR No.97971
#5 Re: Taking the Big Bertha to new lengths
I didn't mic it, but there was quite a lip between the original body tubes and the unfinished ones.
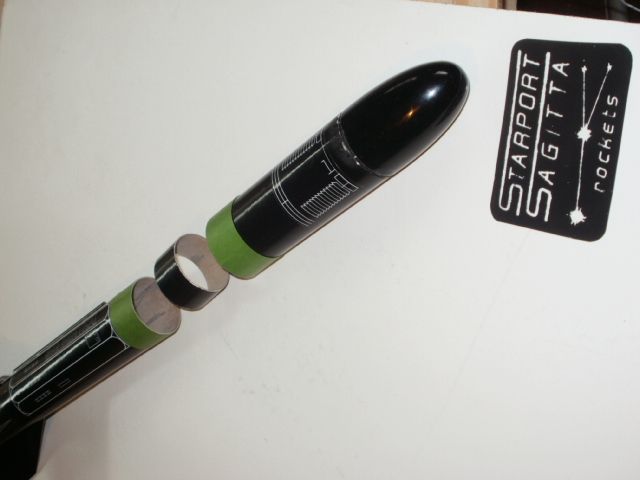
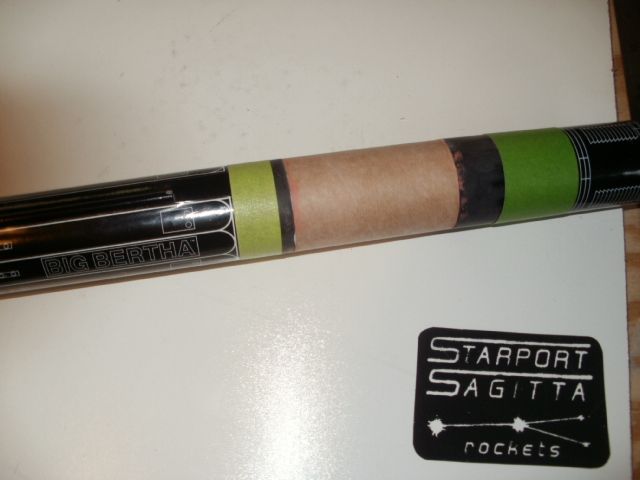
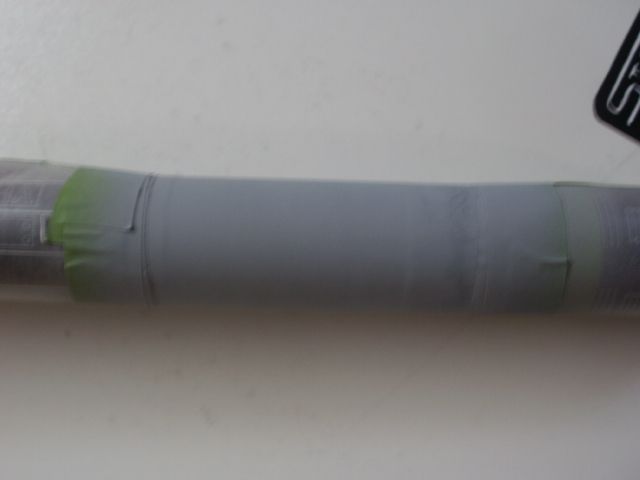
Last night I filled the cracks between the Baffle section and original body tubes using the Bondo filler putty. After spreading the putty around the seams, I smooth it out by "painting" the putty with acetone.
After the putty dried, I sanded it smooth. The green tape next to the decals is to keep an original finish buffer area.

Commander
Starport Sagitta
NAR No.97971
Starport Sagitta
NAR No.97971
#6 Re: Taking the Big Bertha to new lengths
Okay so I just mic'd it. The unfinished tube is 41mm and the finished original tube is 43mm-44mm.
Commander
Starport Sagitta
NAR No.97971
Starport Sagitta
NAR No.97971
#7 Re: Taking the Big Bertha to new lengths
Early this afternoon, I started spraying primer. Unfortunately some crazing started in the primer.
Sigh....
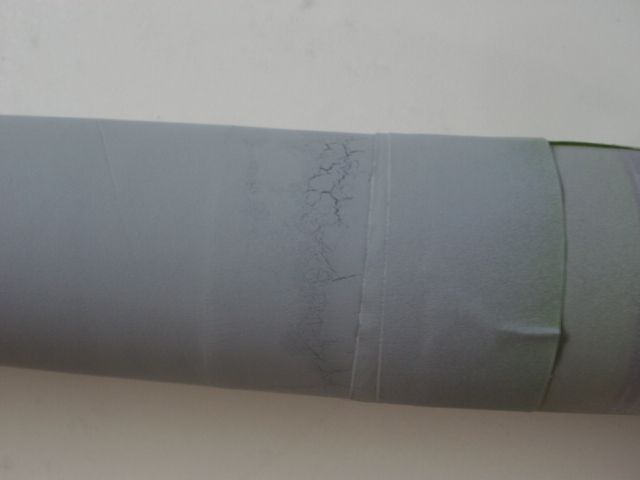
I used the same primer I used on the original paint finishing work.

Sigh....


I used the same primer I used on the original paint finishing work.
Commander
Starport Sagitta
NAR No.97971
Starport Sagitta
NAR No.97971
-
bernomatic

- Site Admin

- Posts: 1169
- Joined: Tue, 29 Mar 16, 03:55 am
- Location: Cleveland, Ohio
- Contact:
#8 Re: Taking the Big Bertha to new lengths
I thought I had it beat tonight. I applied two light coats of the primer and all was well. I applied a heavier coat and took some pictures. then sat down to write this entry. I got up to check on something else and looked at the BB, the crazing had reappeared. 
Chief Cook -n- bottle washer
#9 Re: Taking the Big Bertha to new lengths
So, just had a "duh" moment here at work.
1) The crazing is being caused by the solvents in the aerosol spray primer reacting with something.
2) I have the non-aerosol Rustoleum primer sitting in a can in the rocket bunker paint cabinet.
So...
Might I not be able to use the non-aerosol to prime the repaired section and by-pass all of this whole PIA problem?
Stay tuned, we shall find out this weekend.
Commander
Starport Sagitta
NAR No.97971
Starport Sagitta
NAR No.97971
#10 Re: Taking the Big Bertha to new lengths
SUCCESS! 
As seen in the photos below, the painting with non-aerosol primer arrested the crazing without the time consuming task of having to sand all the old stuff off.
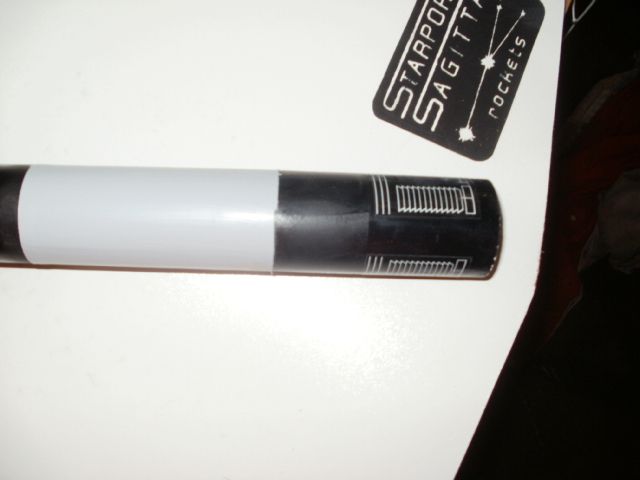
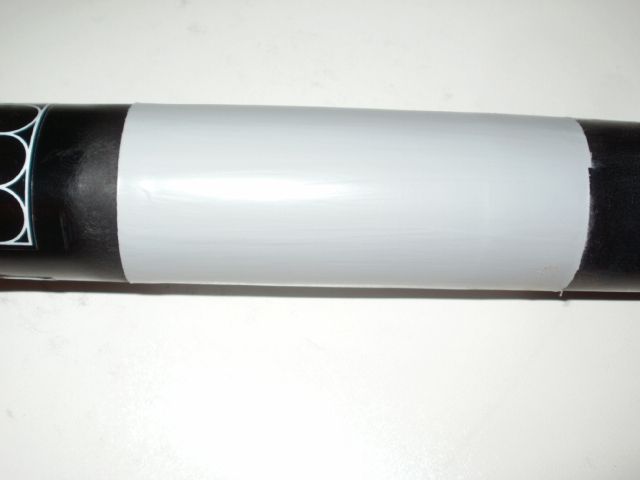
This is just an initial success, I am holding off on the Bacchanalian celebrations till the finish coats are all done, but it is a very good sign.
Commander
Starport Sagitta
NAR No.97971
Starport Sagitta
NAR No.97971